Once a class session is complete, the instructor (or other administrator) will need to process credit to the participants for the class. This is done in the Credit tab of a class session.
Important: Do not process any credit until the class session is over. When credit is processed for even one user, the following will occur:
To process credit for participants, go to Resources > Maintain Facilitated Sessions and search for the class session by title or other search criteria. Select the desired class session in the list of search results and click Edit in the top toolbar.
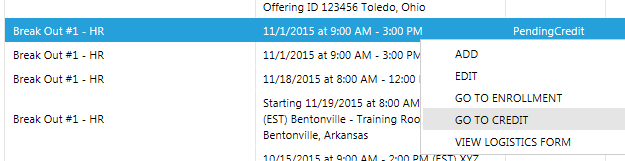
NOTE: You can also reach the Credit tab by right-clicking on the class session and selecting Go to Credit from the context menu.
The Credit tab will list all enrolled participants for the class session.
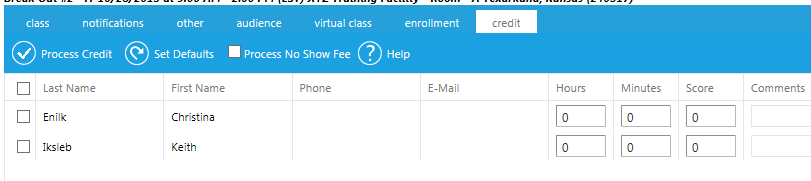
First, you will want to Set Defaults for the credit. Click Set Defaults in the top toolbar to set the time for the class. If you do not enter a time in the Default section, it can be manually entered next to each participant’s name.
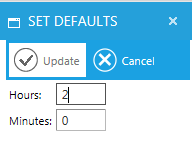
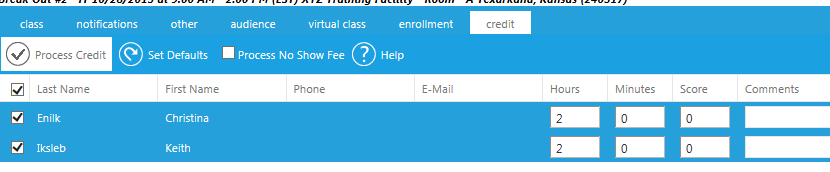
After you have entered the time, click Update. The Hours and Minutes columns will automatically update for all participants. Other credit settings you can adjust include:
To process credit, once settings are complete, select the name of each participant who should be granted credit. If every listed participant should receive credit, select the checkbox by Last Name in the header row, and all names will be selected. Then click the Process Credit button in the toolbar.
Once credit has been processed, the names will remain highlighted in blue even after you leave this screen. The highlighting allows you to confirm which classes have already had their credit processed.
Once credit has been processed via the Process Credit button, the system will drop the enrollments of any users who did not attend (the drops will be processed in the evening). You can use the ad hoc reporting tool (data source Classes > No Show Participants) to view the No Show participants after their enrollments have been dropped.
NOTE: Even if the Automatic Attendance box is checked on the Virtual Class tab, you must still manage credit for No Show participants via the Credit tab. This is not an automatic function.
Create a New Class Session (The Class Tab)