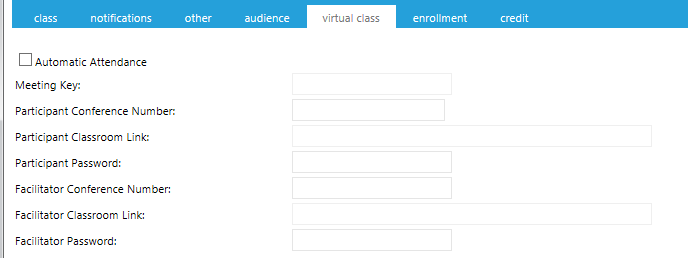
This tab may not be available in all systems based on the options selected. This tab allows you to set login information for a virtual class session, one run with online meeting software.
Users can access a virtual class directly from their Development Plan, and the LMS tracks who attended the class and can automatically grant them credit, if desired.
The instructor only needs to set up the class in the LMS. The LMS will then automatically create the class in the designated virtual provider.
Since the Virtual Classroom Provider should have been selected on the Class tab, all of the information on this screen (participant link, etc.) should already be populated.
Check the Automatic Attendance box to give anyone who launches the course automatic credit for the class. If you choose not to check this box, you will need to go to the Credit tab to give credit manually. NOTE: To be automatically granted credit, the user must click the course launch link. Users who do not do this (i.e., "No Shows"), will not receive automatic credit. Managing No Shows must be handled through the Credit tab regardless of whether or not the Automatic Attendance box has been checked.
NOTE: The Virtual Classroom Provider can also be set on the Overview tab of the Resource. If the majority of the classes will use the same provider, it is quicker to set this up on the Resource level. Remember, you can always change a specific class session as needed.
Once all of your changes have been made, click Save before proceeding on to the next tab.
Create a New Class (The Class Tab)