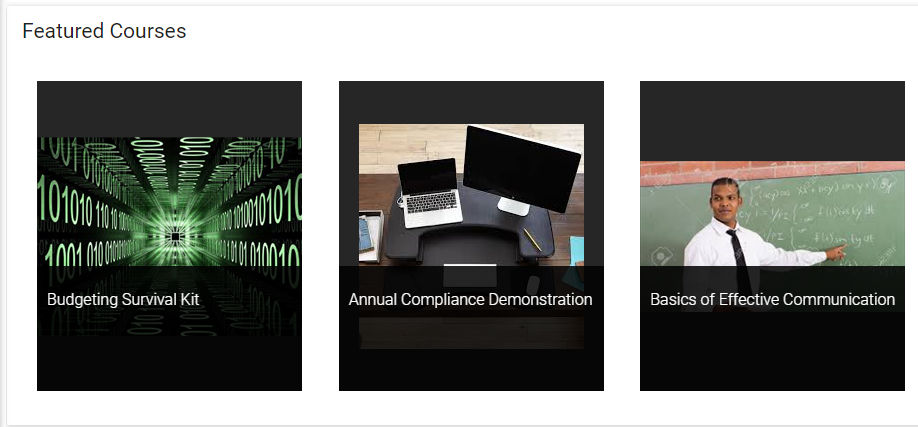
This widget allows the administrator to highlight active courses that may be of interest to the Homepage audience. When a user clicks on the course title from this widget they will be taken to the course description where they can see more information about the course and enroll if desired.
This widget is only available in systems that use the Bootstrap design. Be sure that a thumbnail has been loaded for each selected course, otherwise only a black box will be displayed.
On the Settings tab for this widget, the administrator can select which courses should be displayed. If the number of courses selected exceeds the column width, Previous and Next buttons will be automatically added to the bottom of the widget so the user can scroll through all of the courses.
This tab presents several general options you can make regarding the Featured Courses widget.
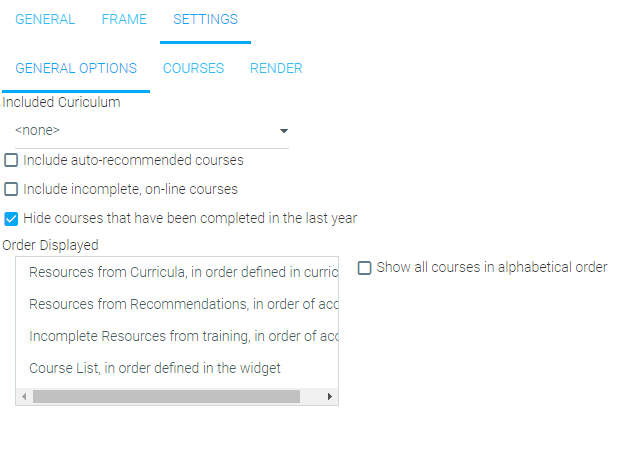
Included Curriculum
Use the drop-down menu to include an existing curriculum.
Include auto-recommended courses
Check this box to allow the LMS to generate a list of recommended courses. Recommended courses are managed through the Recommendations sub-tab on the Details tab of the learning resource. See The Details Tab for more information.
Include incomplete, on-line courses
Check this box to allow the LMS to pull a list of all incomplete on-line courses to be shown as Featured Courses.
Hide courses that have been completed in the last year
Check this box to exclude any courses that have been completed within the last calendar year.
Order Displayed
Make a selection from this list to determine the order in which courses are displayed on the widget. The current available options are:
Alternatively, you can have them displayed alphabetically by title by checking the Show all courses in alphabetical order box.
To select a course, begin typing the name of the desired course in the Select a Course drop-down at the top of the tab.
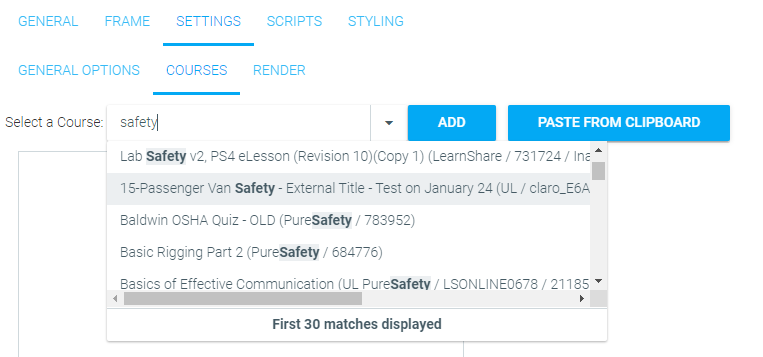
When the desired course is shown, highlight the course and click the Add button.
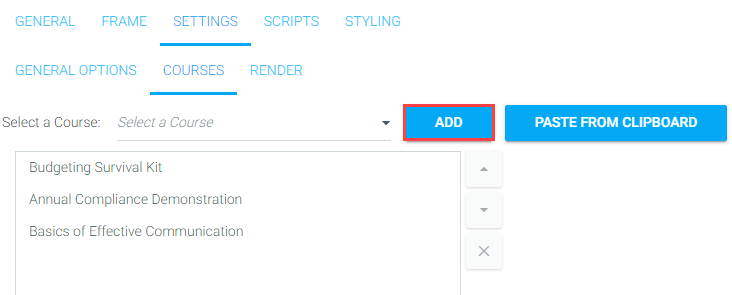
If you need to add a large number of courses, use the Paste from Clipboard option.
Click on the Paste from Clipboard button at the top right of the tab. The Paste from Clipboard wizard will open up.
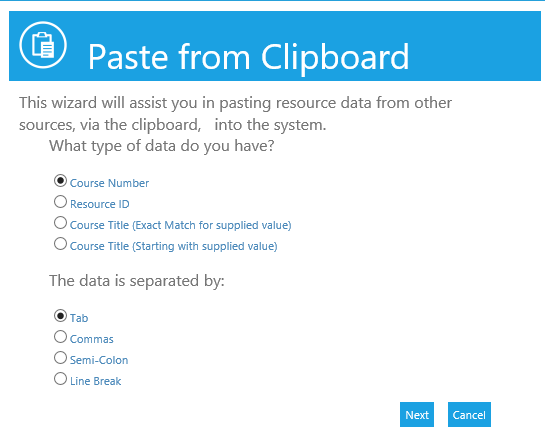
Select the Data Type that you want to use:
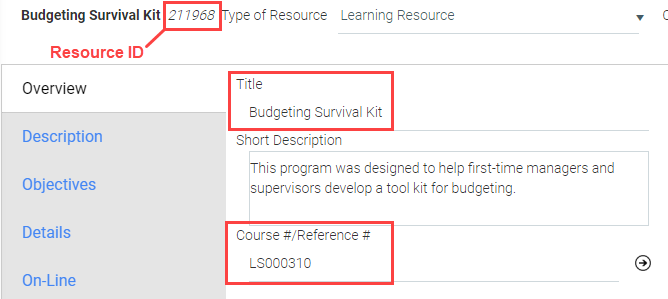
Use the Course Number or Resource ID to reduce the number of possible errors.
All of the above values can be found on the Overview tab of the selected courses on the Maintain Learning Resources screen. You can also run a Catalog of Resources report to obtain this information.
Select the format of your data. If the data is in an Excel spreadsheet, select Tab.
Click Next and paste your data in the open text box. Then click Next again to load it.
The system will alert you to any errors in your data.
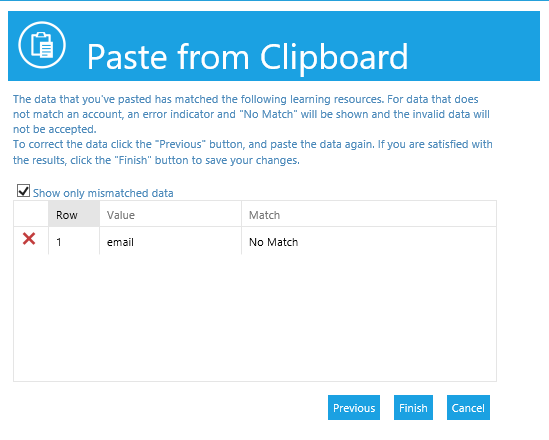
If necessary, click the Previous button and paste the corrected data onto the clipboard.
Once all of the data is correct, click Finish.
All of the courses will now be listed on the Settings tab.
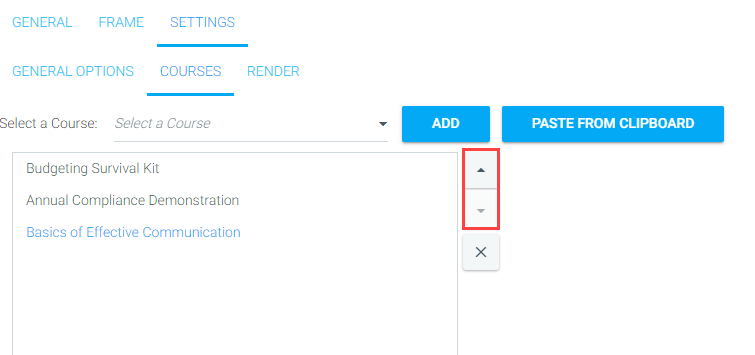
The courses will appear in the widget in the order that they were chosen. Use the arrows at the right to reorder the courses, if desired.
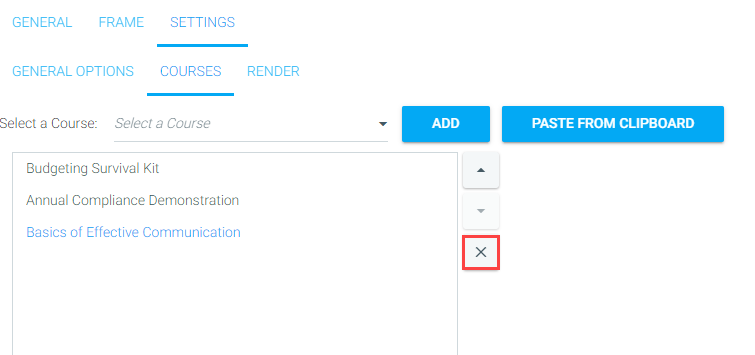
To remove a course from this widget, highlight the course title and click the "X" on the right of the course list.
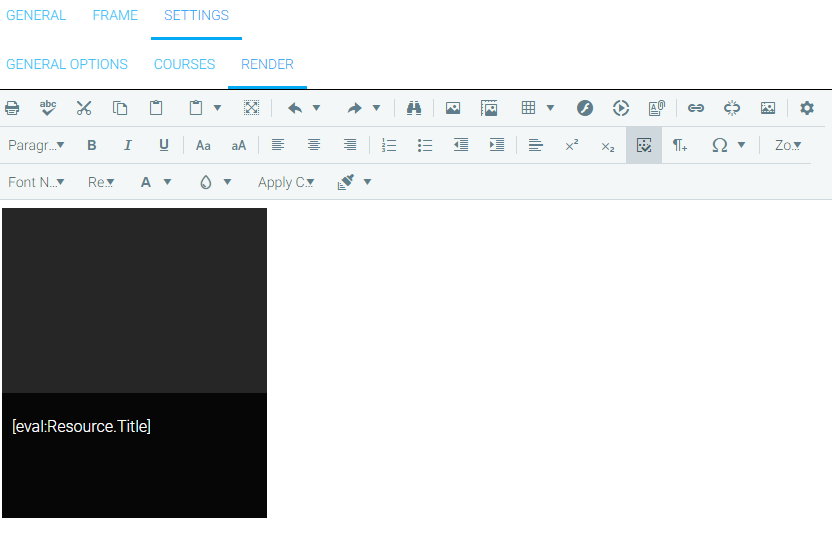
The Render sub-tab allows you to format how the selected courses will display to the user. The rich text editor on this sub-tab allows you to include images, links to documents, change font styles, etc. See Using the Rich Text Editor for more information.
See the image at the top of this document for an example of the default appearance for the Featured Courses widget.