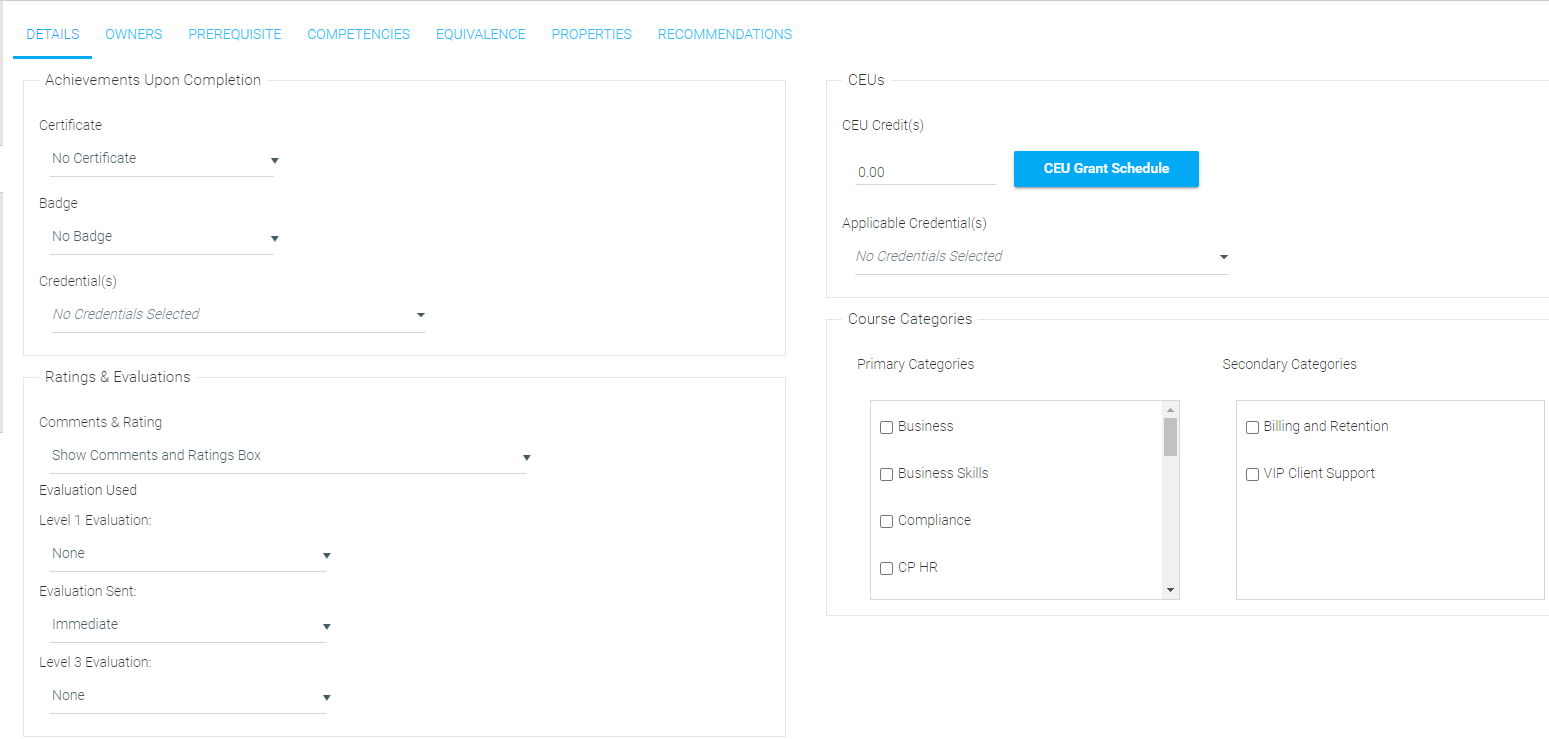
The Details tab allows you to set Certificates of Completion, Badges, Evaluations, CEU Credits, and Course Categories.
There are also tabs to manage course Prerequisites and Equivalence.
The fields in the Details tab are grouped as follows:
Achievements Upon Completion
Certificate (of Completion)
If a certificate of completion is selected, it will display in the learner's Learning History screen on completion of the course. This list will be limited to certificates of completion that have already been created by your organization. Certificates of completion can be created and maintained in the admin console, Tools section, Maintain Certificates of Completion.
Badge
If a badge is selected, it will display in the Awards List widget if it is used. The badges listed in the drop-down menu will be limited to badges which have already been created by your organization. Badges can be created and maintained on the Maintain Badges screen (Admin Console > Tools > Maintain Badges).
Credentials
The credential listed here are what a user can earn by successfully completing this course. If a credential is selected, it will display in the My Credentials widget if it is used. The credentials listed in the drop-down menu will be limited to credentials which have already been created by your organization. Credentials can be created and maintained on the Maintain Credentials screen (Admin Console > Tools > Maintain Credentials).
Ratings & Evaluations
Comments & Rating
As the name suggests, the Comments and Rating Box provides users with the opportunity to provide feedback through commentary and rating training. Use the drop-down menu to choose from the following options:
• Show Comments and Ratings Box - Allows users to provide both comments and ratings
• Suppress the Comments and Ratings Box - Does not allow users to provide comments or ratings
• Suppress Comments and Allow Ratings - Does not allow users to comment, but does allow rating
• Suppress Ratings and Allow Comments - Does not allow users to rate training, but they may comment
Evaluation Used
This list will be limited to evaluations already set up for your organization. Additional evaluations can be created on the Maintain LMS Evaluations screen. Links to the evaluation are sent by email, and appear on the Pending Evaluations section of the Learning Plan.
Use the Evaluation Sent drop-down menu to choose whether to send Level 1 Evaluation immediately or to queue for later. Level 1 Evaluations are sent the evening of course completion for Online Resources and the evening that credit is granted for Facilitated Resources.
Level 3 Evaluations are sent 30 days after the course completion date.
CEUs
CEU Credit(s)
This is the number of Continuing Education Unit credits for this resource.
If this is not a continuing education course, leave this set to 0.00.
CEU Grant Schedule
This allows learners to be granted credits based on completion dates set in the schedule. Clicking this button will open a pop-out box where the Start Date, End Date, and CEU Value can be set. Modifying the schedule will not modify pre-existing completions.
Applicable Credential(s)
If a course earns CEU credits and credentials are selected here, then the only users who will receive CEU credit are those who complete the course and hold the selected credential(s). For example, if a "Nurse" credential is selected here and someone with an "Laboratory Technician" credential takes the course, they will not receive CEU credits.
Course Categories
Course Categories are used to organize resources for reporting and can be used as filters to search the Course Catalog.
This list will be limited to the standard categories configured by your organization.
Additional categories can be added in Admin Console > Tools > Maintain Content Categories and Admin Console > Tools > Maintain Secondary Content Categories.
Use the Owners tab to designate who has permission to edit a resource. Any user in the LMS can be designated as a course owner, instructional designer, or content owner. However, the user will still need to have an administrative role to access the Maintain Learning Resources screen.
To set Course Owner, Instructional Designer, or Content Owner roles, edit the resource and go to the Owners sub-tab of the Details tab. You can select individuals or teams for these roles in the Person and Team drop-down menus. Teams can be created on the Maintain Teams screen.
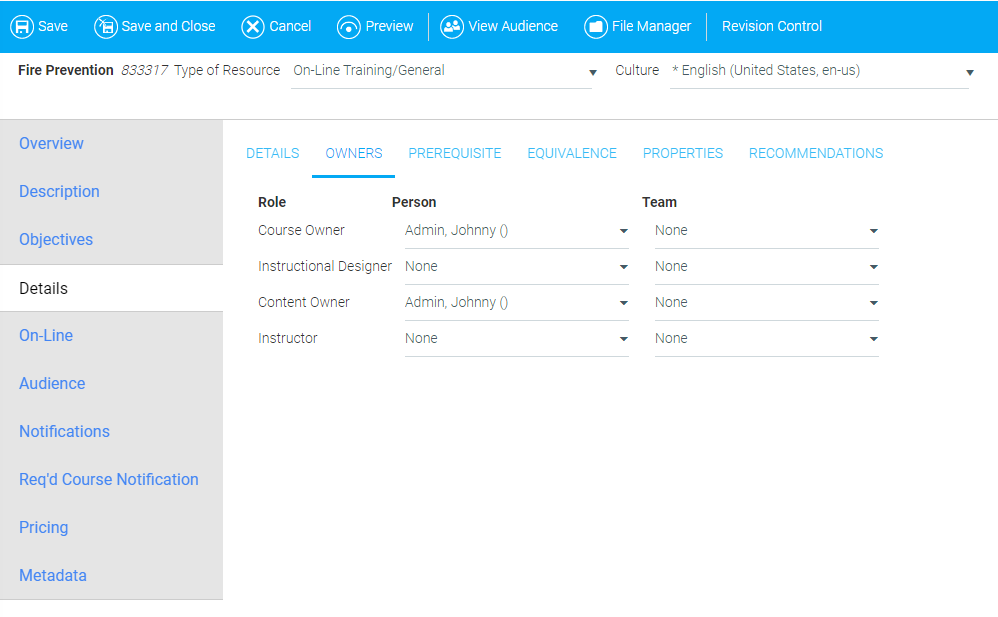
Course Owner
Course Owners can edit the learning resource. This role can also be used for reporting purposes.
Instructional Designer
This role is listed for informational purposes. You can run a report to identify all resources that are affiliated with a certain Instructional Designer.
Content Owner
This role is listed for informational purposes. You can run a report to identify all resources that are affiliated with a certain Content Owner.
Instructor
This role is used to assign a person or a team who will be available to teach a class. See also Maintain Facilitated Sessions.
Setting a prerequisite for a resource prohibits users from enrolling into the resource until the prerequisite is completed.
You may setup multiple learning resources to act as prerequisites, and optionally confine the prerequisite checks to enforce audience rules on the prerequisite courses.
To access the prerequisites for a learning resource, go to Resources > Maintain Learning Resources, search for the resource on which the prerequisite should be placed, and edit it.
Go to the Details tab and the Prerequisite sub-tab.
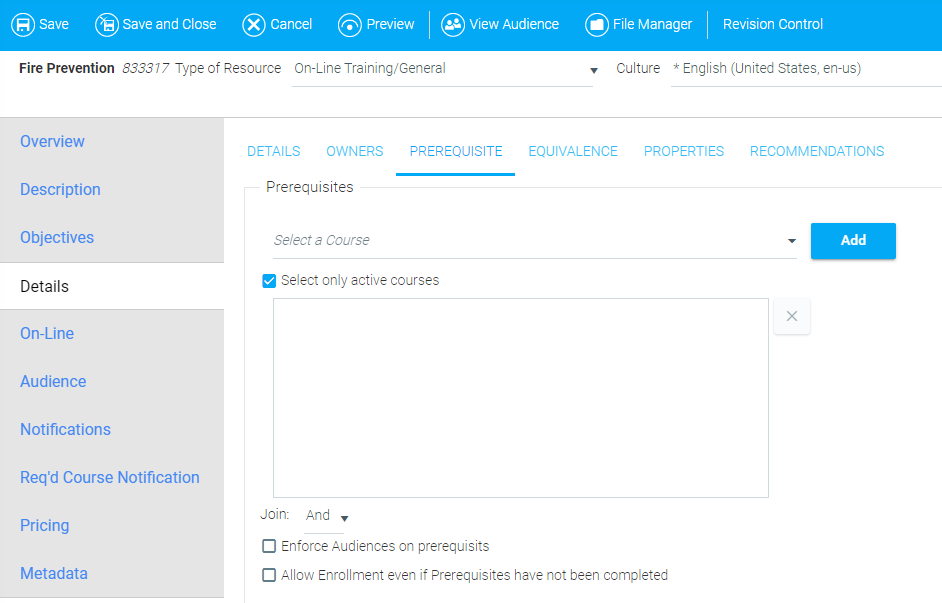
Once on the Prerequisite sub-tab, begin typing the name of the course that will be the prerequisite course. When you see the correct course, select it and click Add to make the course a prerequisite.
To make an inactive course a prerequisite, uncheck the Select only active courses check box.
At the bottom of the screen are several settings that allow you to define how the prerequisite course should be treated.
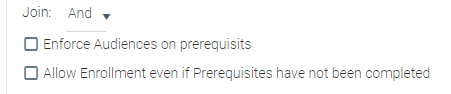
The Join field allows you to choose whether the user needs to complete all of the prerequisite courses or only one. If all courses need to be completed, the Join box should stay set to the “and” default. Change it to “or” to allow the user to select any one of the prerequisite resources to fulfill the requirement.
By default, a user cannot enroll in an instructor-led class until the prerequisite requirement has been fulfilled. Check the Allow Enrollment even if Prerequisites have not been completed box to allow a user to enroll in a class session before completing the prerequisite.
By default, all users who want to enroll in the selected course will be forced to fulfill the prerequisite requirement before they can enroll. Checking the Enforce Audiences on prerequisites box will cause the LMS to look at the audience of the prerequisite resource. If a user is not in the audience for that prerequisite, they will not need to fulfill the prerequisite requirement.
If a user attempts to enroll in a course before they fulfill a set prerequisite, the system will alert them to the prerequisite that needs to be fulfilled before the enrollment can be completed. The LMS will suppress the enrollment button until the prerequisite has been completed.
In the LMS, equivalency is the ability to use one or more course completions to automatically mark another course complete for a learner. Equivalency allows a learner's course to be automatically marked complete based on completion of one or multiple other courses.
This would be used, for example, when a learner should be granted completion for a new course if the old version was essentially equivalent. Or, when learners are given the option of taking an online OR classroom version of the same course content, and one should complete the other.
Equivalency can also be used with expiration – equivalent courses can be used to complete a course and thus fulfill the expiration requirement.
Equivalency is defined in one resource - the "core resource". In that resource, the admin will define one or more "equivalent resource(s)". A completion for an equivalent resource will then cause the system to grant a completion for the core resource.
However, the action is not reciprocal - a completion by the core resource will not grant a completion of the equivalent resource.
For example, if “Course X” is the core resource and “Course Y” is the equivalent resource, then the completion of “Course Y” will mark “Course X” complete. The completion of “Course X” will not mark “Course Y” complete.
Once a core course completion has been granted due to an equivalent course completion, the system will only grant the core completion once. If the learner gets another completion for the equivalent resource, the system will not generate another core course completion. The goal of equivalency is to be sure that the learner gets credit for the core resource if the equivalent resource is completed once.
A course completion with Failed status will NOT generate an equivalent completion.
UL-provided courses that have CEU values or are flagged as OSHA training cannot have equivalence configured. The equivalence options will be disabled.
The administrator can tell the system to grant equivalency completions in one of two methods - based on historical or ongoing completions.
First, based on history. When the equivalent course is defined in the core resource, the admin can click the Recalculate Equivalence button and the system will sweep all existing completions for the equivalent resource, and if learners have a completion for it, a core resource completion will be granted.
Second, based on ongoing completions. From the point that the equivalency is defined in the core resource, any new equivalent resource completions will grant core resource completions if the learner does not already have one.
Note that if the learner has no enrollment for the core resource, the system generates a new enrollment and then marks it complete. If the learner already has an incomplete enrollment for the core resource and an equivalent resource completion is detected, the system will not create a new core resource enrollment - it will only mark the existing core resource enrollment complete.
If the core resource and the equivalent resource should mark each other complete (e.g., whichever course is completed first marks the other complete), then both courses should have the other assigned as equivalent resources.
Once an equivalency has been granted, that equivalent “completion” will remain in the system, even if the equivalency rules change. Once an equivalency completion has been granted, it can only be removed manually via the Manage Credit and Enrollment screen.
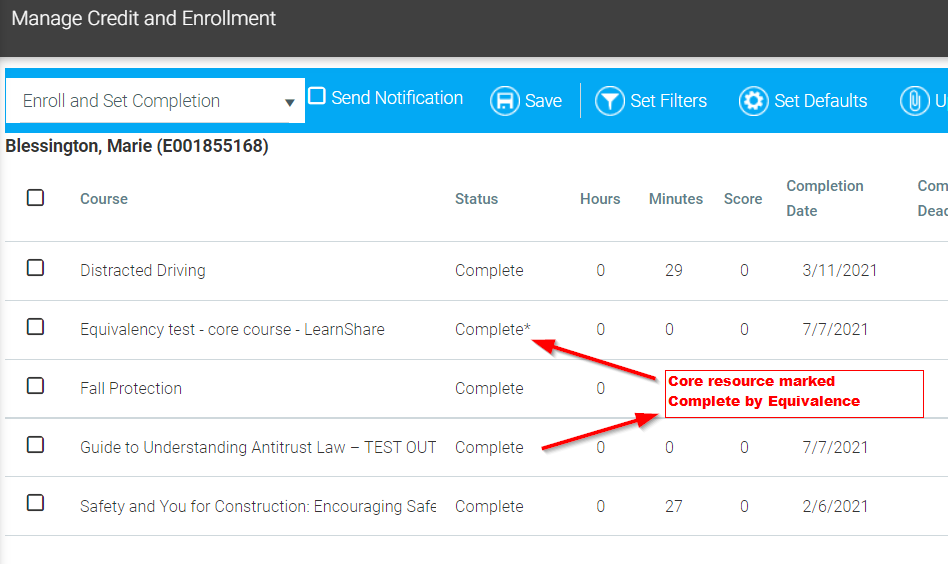
When a user completes an equivalent resource, both the Equivalent resource and the Core resource will appear on the Manage Credit and Enrollment screen with a Complete status. An asterisk (*) will appear next to the Core course that was marked complete due to equivalency.
In the example below, a Core resource was set up to be completed (Equivalency test - core course - LearnShare) if a learner had already completed the Equivalent resource (Guide to Understanding Antitrust Law – TEST OUT). The learner completed the Equivalent and was then marked complete for the Core resource.
The completion date for the Core resource reflects the date that the equivalency was granted. If equivalency is turned on after the completion date of the original resource completion, the two dates will be different.
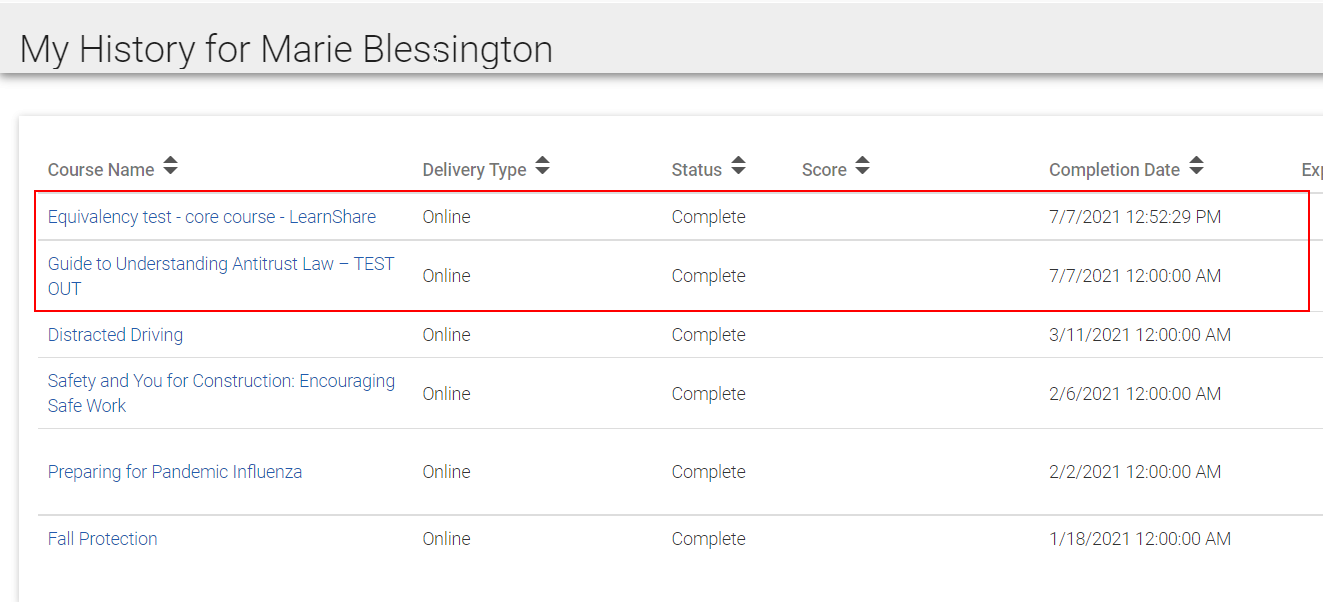
Typically both the Equivalent resource and the Core resource will appear on the learner's Learning History with a complete status. The learner will not be able to tell which course was completed through the standard method and which course was completed due to equivalency just by viewing their Learning History.
The Equivalence tab is an optional feature, so it is not available in all systems.
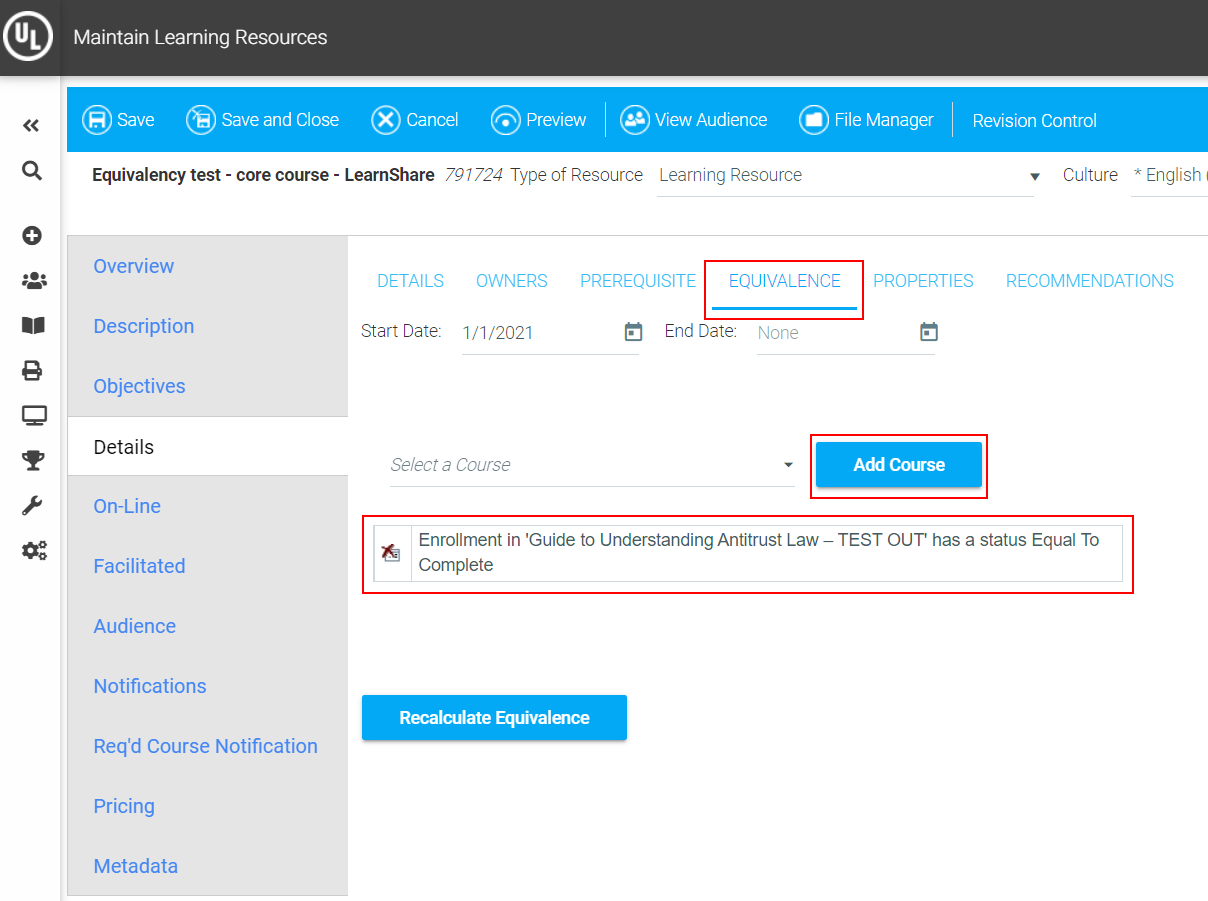
To set up equivalency, go to Resources > Maintain Learning Resources and search for the core course. This is the course that should be marked complete when another (equivalent) course is completed.
Edit the core course and go to the Details tab > Equivalence. On the Equivalence tab begin typing the name of the course that will be equivalent to the core resource. Select the course and click Add Course.
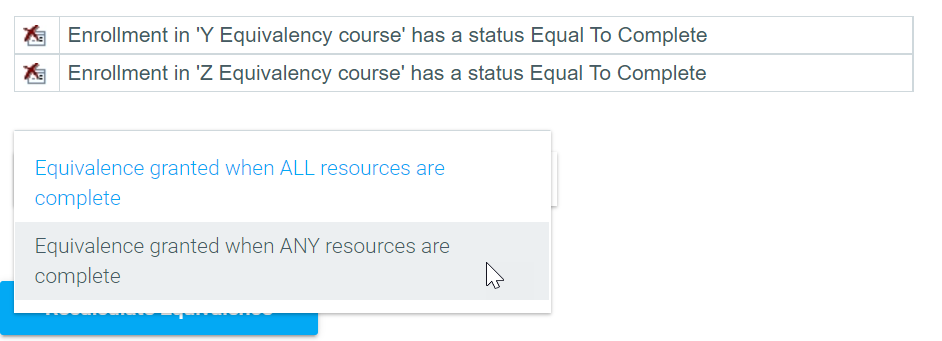
If more than one course should be equivalent to the core resource, then repeat the first two steps.
When more than one resource is selected, you need to choose whether both resources need to be completed for the core resource to be marked complete or if either resource can be completed for the core resource to be marked complete.
Once the equivalent resources have been selected, you must select a start date. If no start date is selected, the equivalency remains inactive. An end date is optional.
If the equivalency is being set on a new resource that does not have any completions, select today’s date as the start date.
If the equivalency is only valid for new completions, select today’s date as the start date or select the desired future date.
If the equivalency is valid for past completions, select the appropriate past date. Then click the Recalculate Equivalence button at the bottom of the screen. The Recalculate Equivalence button causes the LMS to review all past completions of the equivalent resource(s) and then grant completion for the core resource to any employee who completed an equivalent resource on or after the selected start date.
When the system grants equivalency for past completions, the completion date of the core resource will be the date that equivalency is granted, not the completion date of the equivalent resource.
You can continue to work in other screens while equivalence is being recalculated. Please note that the recalculation time could take several minutes to several hours as the system must go through every related enrollment and user in the system to ensure that all information is correctly updated including any possible cascading effects of the equivalency.
You can use the Recommendations sub-tab to suggest or recommend additional training to users based on a course they have taken. For example, if a user completes a course called Safety in the Workplace, you may wish for them to receive a recommendation to take an additional related course, such as Safety in the Workplace - Level 2.
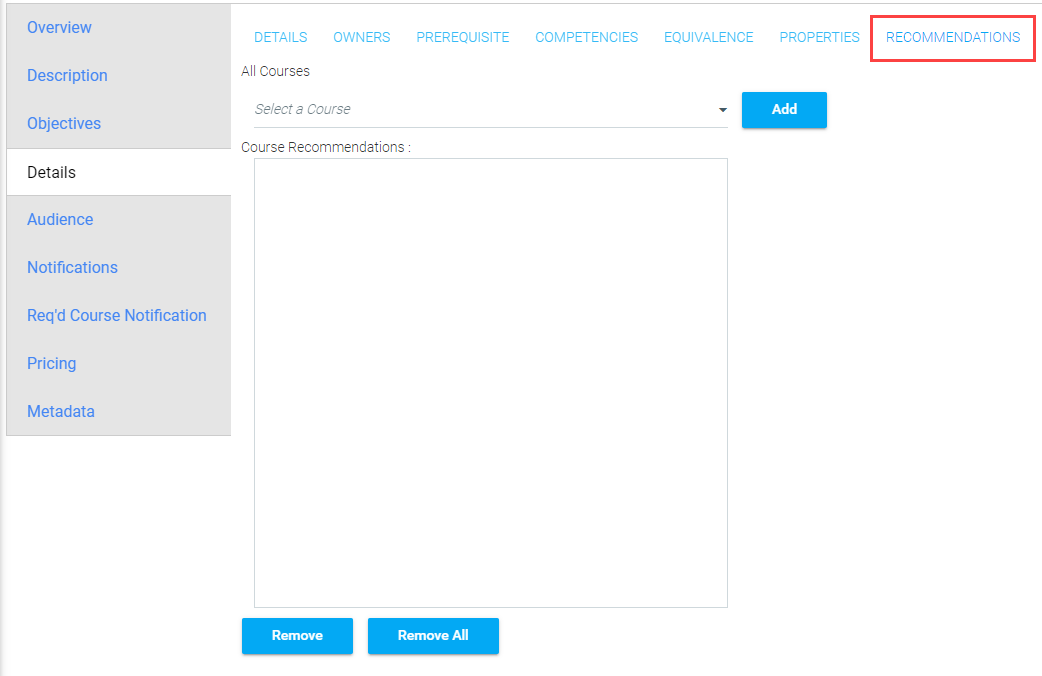
To add a course recommendation, begin typing the name of a course in the All Courses drop-down menu. Once you've located the name of the course you wish to add to the Recommendations list, click the title then click the Add button.

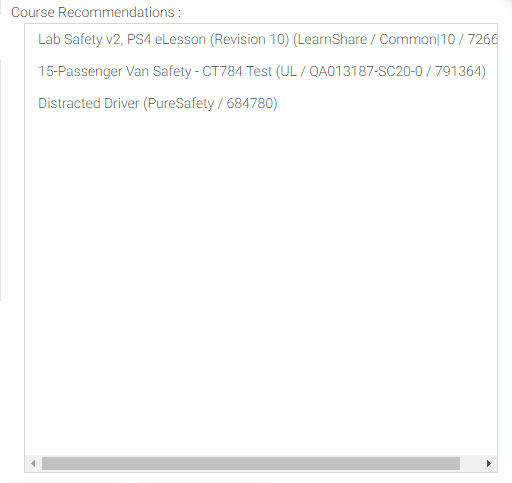
The course will be added to the Course Recommendations list. You can add as many course recommendations as you wish.
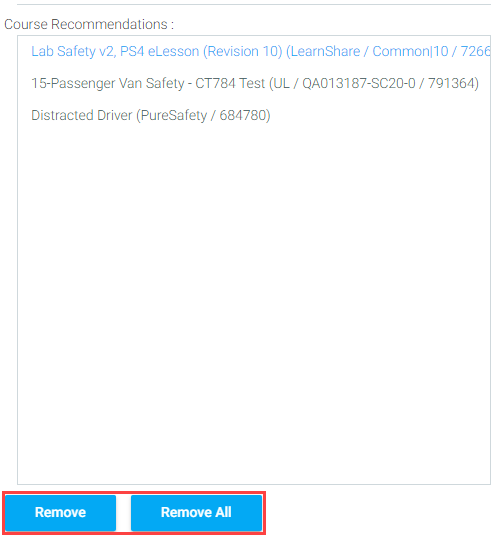
Use the Remove button to remove any unwanted course recommendations from the list.
Use the Remove All button to remove every course recommendation from the list.
Click Save when you are satisfied with the Course Recommendations list.
To learn more about how to use each tab, select from the list below, or from the Help navigation tree.