
SPOC stands for Small Private Online Course. In the LMS, a SPOC is a certificate resource type that is bundled with social features such as announcements and discussion boards. A hierarchy of resources within the SPOC can be created, allowing the administrator to restrict access to select resources until defined requirements are met.
Unlike a certificate, a list of the resources contained within the SPOC can only be viewed within the SPOC resource menu (not from the Learning Plan). Previous and Next buttons are also built into the SPOC so that the user can seamlessly progress from one resource to the next without needing to launch each resource separately.
When a learner launches a SPOC course, they will have the following options.
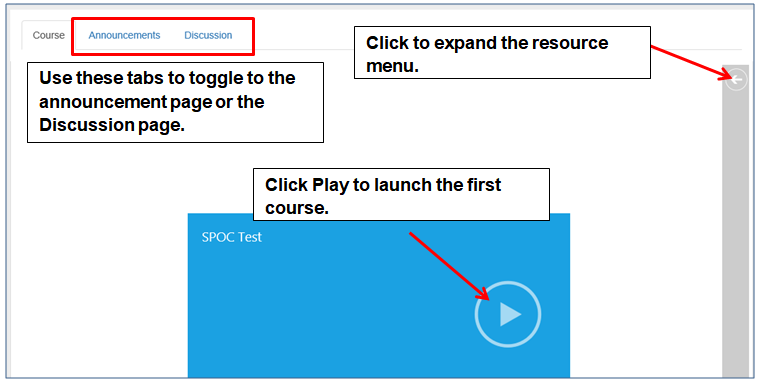
The expanded menu will show all courses that are a part of this SPOC program. The icons beside each item show the status of that item.
A user can launch the courses from the resource menu or simply click Play and then use the Next button to move through each resource in sequence.
The Announcement tab allows the Administrative owner to post announcements that can be viewed by everyone who is enrolled in the SPOC. Based on your system’s configuration, the announcements could be posted by the course owner, group owner, or instructor.
The Discussion tab allows everyone who is a member of the SPOC to post comments and questions that can be viewed by all other SPOC members.
There are two types of SPOCs:
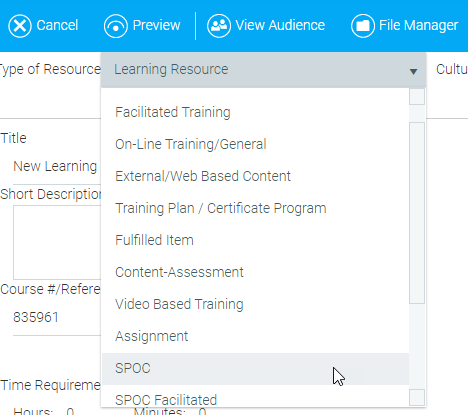
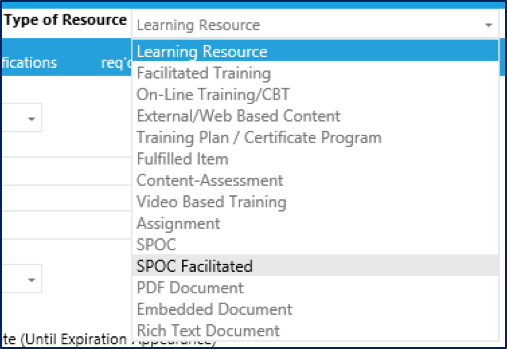
To create a Small Private Online Class, go to Resources > Maintain Learning Resources, in the Navigation Bar of the Administrator's Console. Click the New button in the top toolbar. In the Type of Resource drop-down at the top of the Overview tab, select SPOC.
Enter a resource title, provider, etc. See The Overview Tab for detailed information. If desired, enter a short description. This short description will display to users on the SPOC's Course tab.
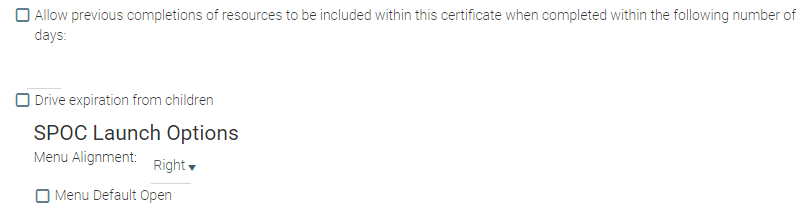
Select Certificate as the media type. On the right side of the screen, you will now see additional options that are not present for other resource types.
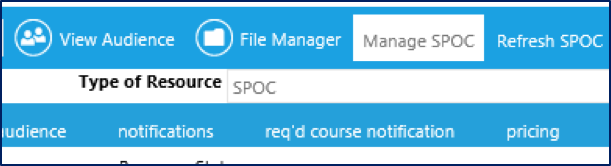
To add the resources that will comprise the SPOC, click the Manage SPOC button in the top toolbar.
A pop-up window will ask if you want to create a certificate. Click OK. The Administer Curricula screen will open up.
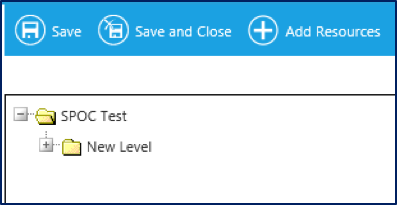
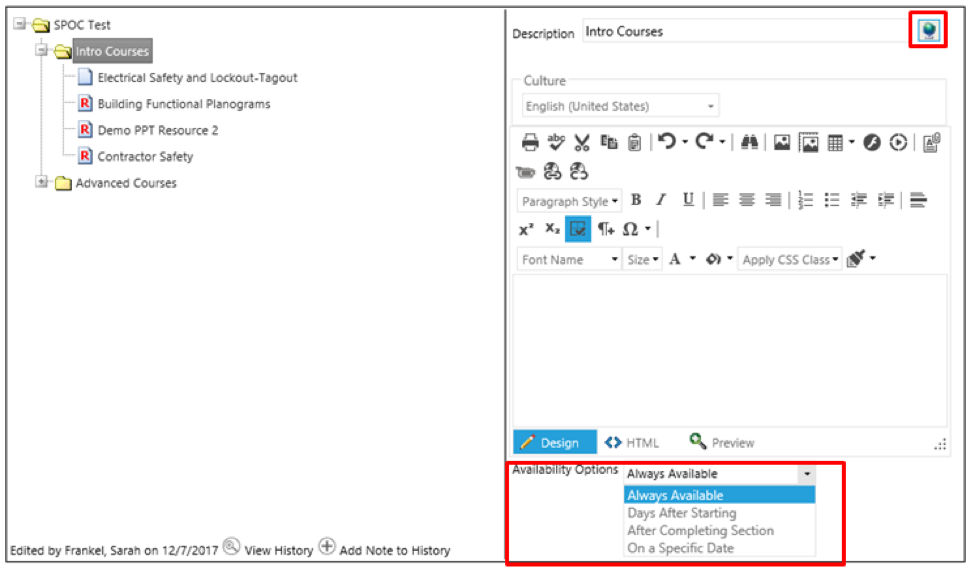
The top folder is the name of the SPOC resource. This cannot be changed on this screen. The next level folder will initially default to “New Level.” This name will be visible to learners, and you should change it.
Right-click on the New Level folder and select Edit Curricula Level from the context menu to change the name.
To add more folders at this level, right-click on the top level folder and select Add Curricula Level from the context menu. Repeat the above steps until the structure of your SPOC is complete.
Click the Add Resources button in the top toolbar to begin adding courses to the SPOC. The Add Resources pop-up window will appear.
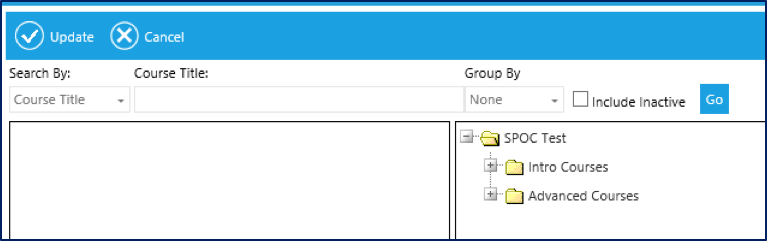
Use this window to search for existing resources to add to the SPOC.
Select what you wish to search by (e.g., course title, media type) and type the keywords into the search box at the top of the window. Click the Go button to see a list of results in the left-side panel.
Drag and drop the resources you want from the list on the left to the appropriate curriculum level on the right.
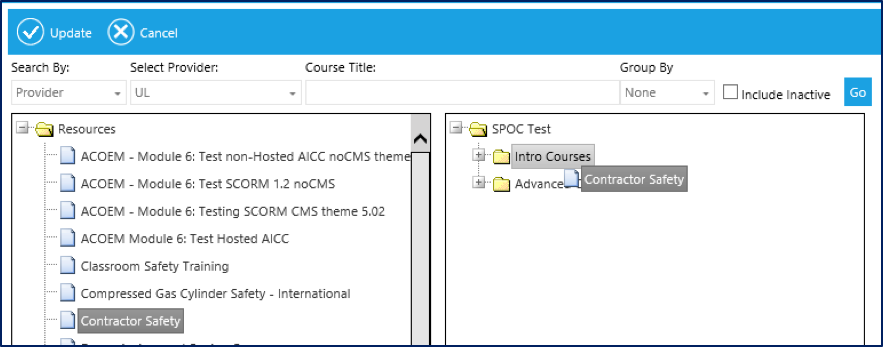
When all courses have been added, click the Update button in the top toolbar. You will return to the Administer Curricula window.
Newly added resources will default to the Required status, as indicated by the red R on the resource icon. If desired, a resource can be optional within the SPOC. To change the resource status, click on the resource title in the Administer Curricula window. The resource details will display on the right side of the screen.
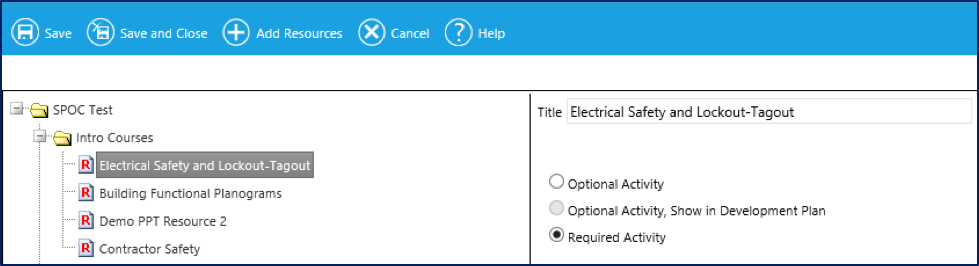
Select the radio button next to Optional Activity to change the status. The red R will disappear from the resource icon indicating that the requirement for this resource has been removed.
Removing the requirement is an administrative action only. The learner view of all courses, both optional and required, will be the same. All resources within the SPOC must be completed for the system to automatically mark the SPOC complete. If desired, an administrator can manually mark a SPOC complete once all of the required elements have been completed.
The curricula levels within a SPOC can be defined so that specified levels are locked until designated rules have been met. To define these rules, click on a SPOC level in the Administer Curricula window. The rule options will be displayed on the right side of the screen.
Several fields are available to edit on this screen.
Optional/Required Activities
If this section contains more than one optional resource, you can set a requirement for the completion of some of these resources.
For example, if a section contains three optional resources and a “2” is entered in this field, the learner will need to complete two of the three optional resources in order for the SPOC to be marked complete.
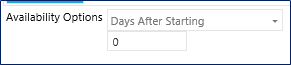
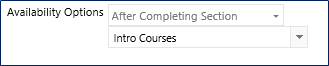
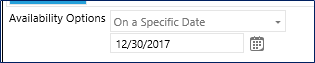
The following options can be used to control when learners can access each section within a SPOC.
If a learner tries to launch a course within the SPOC that is not currently available, a pop-up box will alert them that they are not yet able to access that course.
When the SPOC set up is complete, click the Save and Close button in the top toolbar to return to Maintain Learning Resources.
Remember SPOC is a type of resource, so all other set up tasks – required audiences, notifications etc – are the same for a SPOC as for any other resource type.
In many ways a SPOC is similar to a certificate resource type. If a learner completes all resources within a SPOC, the system will automatically mark the learner complete for the entire SPOC.
If some resources within the SPOC are elective, and the learner chooses to not complete those resources, then the administrator will need to manually mark the learner complete on the Manage Credit and Enrollment screen.
To create a Facilitated Small Private Online Class, go to Resources > Maintain Learning Resources, in the Navigation Bar of the Administrator's Console. Click the New button in the top toolbar. In the Type of Resource drop-down at the top of the Overview tab, select SPOC Facilitated.
Select Facilitated as the Media Type.
All other set-up steps are the same as those required to Create a SPOC.
A Facilitated SPOC has a specific start date. This allows the instructor/moderator to tailor the items on the announcement and discussion boards to correspond to the training material that the learners are currently taking.
The process to create a SPOC facilitated session is the same as creating any other facilitated session. Go to Resources > Maintain Facilitated Sessions in the administrative menu and click Add, in the top toolbar, to add a new session. The Add a New Class window will open.
Select the desired SPOC resource and click Add. The new class session screen will open. Click the Edit button in the top toolbar to edit the details of the session.

Enter the SPOC session date, start time, and Instructor. The venue field can be left blank, though a SPOC-specific venue could be created, if desired.
Click the Add button (plus icon, pictured above) at the left of the screen to update your changes.
The remainder of the setup is the same as any other facilitated class session.
Set a registration open and close date.
Allow participants to reschedule.
Set a maximum participant number.
Use the Enrollment tab to view and edit enrollments.
When the SPOC is complete, credit can be manually granted on the Credit tab.
The Announcement and Discussion tabs are automatically created for all SPOC resource types. These tabs provide the social component of SPOCs that are not available for other certificate resources.
In order to post an announcement, a user must have a role within the SPOC resource. This may be the Instructor role for facilitated SPOCs or the Course Owner role for Open SPOCs. The user must also be enrolled in the SPOC resource. The announcement tab can only be accessed from within the SPOC resource.
The ability to post announcements may be configured differently in your system. Please contact Support with questions about the exact configuration of your system.
To post an announcement, enroll in the SPOC resource.
Go to your Learning Plan and launch the SPOC.
Go to the Announcement Tab. If you are authorized to post announcements, you will see a button that says Create New.
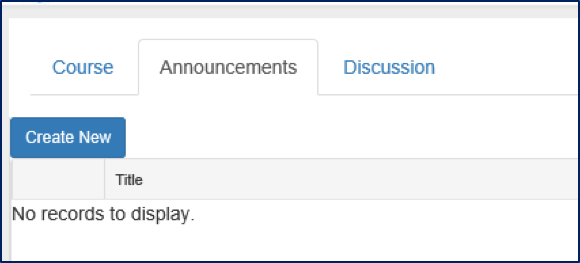
When you click the Create New button, the Blog Post pop-out box will display.
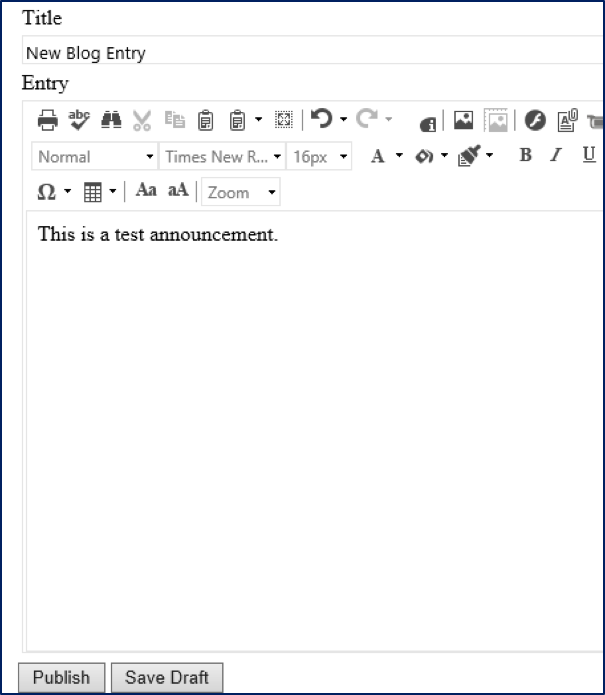
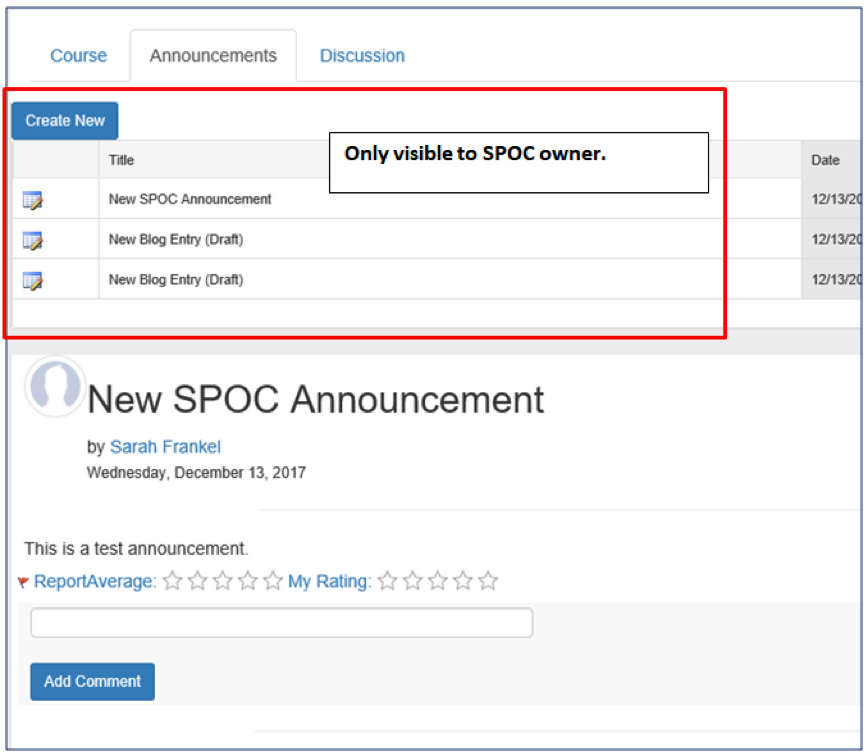
Create the announcement. Announcements can contain images, videos, document links, and hyperlinks. When the announcement is complete, click the Publish button at the bottom of the window to display the announcement to everyone currently enrolled in the SPOC.
If the announcement is not done, you can also click Save Draft to save your work. A draft can be accessed on this tab at any time.
Only the SPOC admin will see the widget that allows the announcement to be edited. All other learners will only see the announcement. All learners will be able to comment on the announcement.
The Discussion tab is open to all learners who are enrolled in the SPOC resource. Both learners and instructors can post comments and answer questions on the discussion board.
An open SPOC will have just one announcement tab and discussion board for all participants in that SPOC. Since users can enroll in an open SPOC at any time, the participants for an open SPOC can be constantly evolving.
Each session for a Facilitated SPOC will have its own unique announcement and discussion tab with access limited to only those learners who have enrolled into that specific session date.
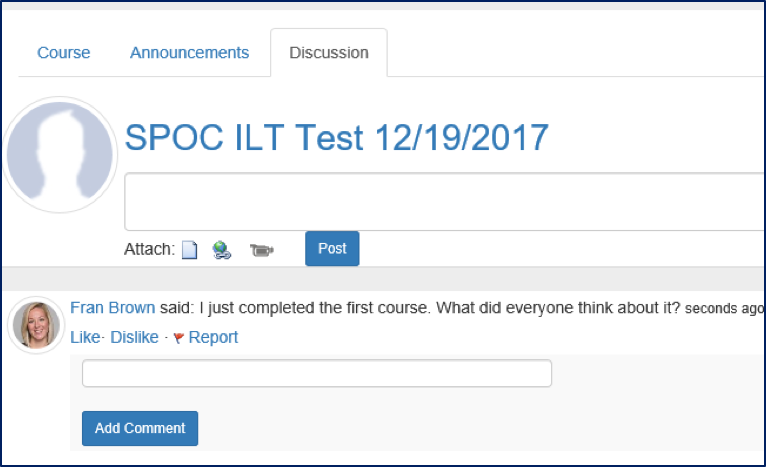
Users can type questions and answers in the comment box. The comment box also supports the ability to:
Click the Post button to post the comment. Once posted, everyone on the discussion board will be able to view and respond to your post.
The Social Wall Status Post widget and the Social Feed widget must both be present in order for discussion posts to be visible to followers.
The announcement tab and the discussion tab for a SPOC resource (or SPOC facilitated session) automatically create a SPOC Group. All SPOC groups can be viewed in the Administrator Console under Social > Manage SPOC Groups.
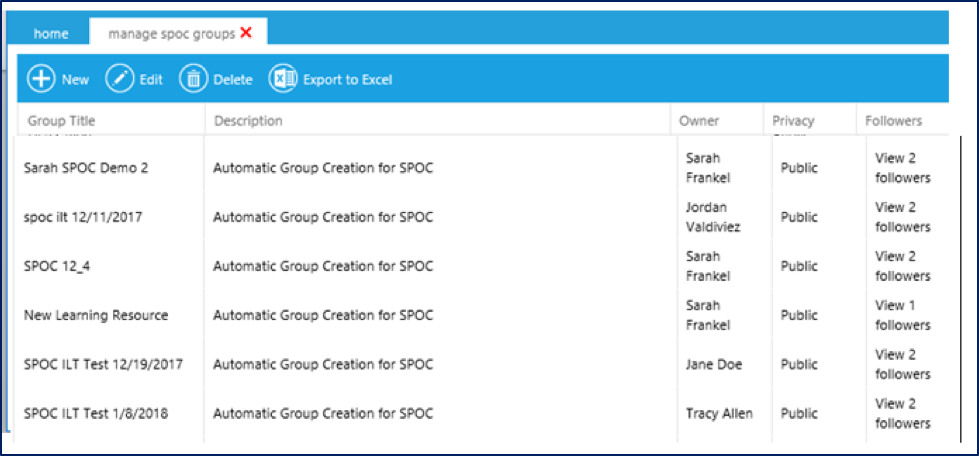
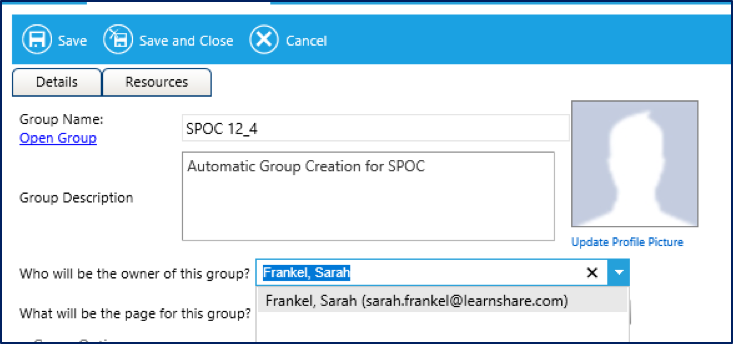
The listed group owner is the person that has the ability to create announcements for that SPOC group. To change the group owner, highlight the name of the group and click the Edit button in the top toolbar.
On the edit screen, click into the Course Owner field and begin typing the name of the new owner.
There are three resource types that can only exist within a SPOC. These are:
The only tabs for these resource types are:
All other attributes of the resource (audience, notifications, etc.) will be contained within the SPOC resource in which this resource sits.
A PDF document resource type allows for easily uploading a PDF document which will then display within the SPOC display area.
To create a PDF resource, go to Resources > Maintain Learning Resources, in the Navigation Bar of the Administrator's Console. Click the New button in the toolbar, and select PDF document in the Type of Resource drop-down.
On the Overview tab enter the resource title and a short description if desired. This will display to learners within the SPOC resource.
Enter a provider and select an online media type.
Optionally, enter text on the description tab. This text will only display to administrators.
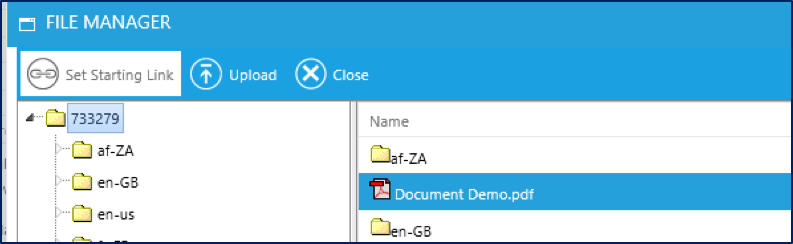
Click on the File Manager button in the top toolbar and upload the PDF document.
Please ensure that the name of the uploaded file does not contain the following special characters: \ / : * ? " < > | & #
If the uploaded file name contains these characters, users may experience a blank black screen when they launch the file.
Once the file has been uploaded, highlight the document and click the Set Starting Link button in the File Manager toolbar.
You will return to the New Resource window. Go to the Online tab.
The starting link should display in the Location field.
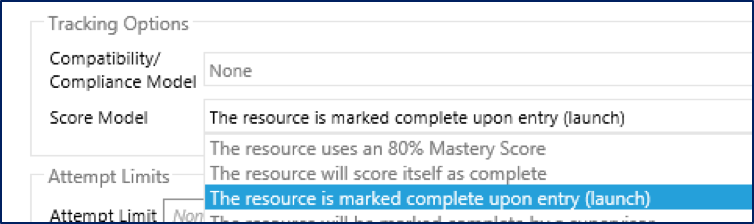
In the Online tab, change the Score model to The resource is marked complete upon entry (launch).
Once you are done, click Save and Close in the toolbar to exit the resource.
A Rich Text resource allows the administrator to enter the text of the resource on the Description tab of the resource. The contents of the Description tab will appear within the SPOC resource.
To create a Rich Text resource, go to Resources > Maintain Learning Resources, in the Navigation Bar of the Administrator's Console. Click the New button in the toolbar, and select Rich Text Document in the Type of Resource drop-down.
On the Overview tab enter the resource title and a short description if desired. This will display to learners within the SPOC resource.
Enter a provider and select an online media type.
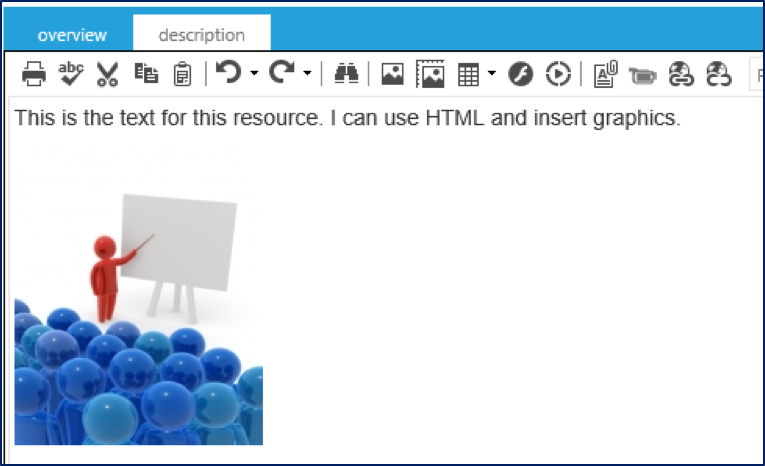
On the Description tab enter the course contents. The contents of this tab will display within the SPOC resource as the actual resource. The Description tab contains the full Rich Text editor, which means that pictures and videos can be embedded. The HTML tab can also be used to support robust formatting.
Once you are done, click Save and Close in the toolbar to exit the resource.
An embedded document resource type allows the admin to share material from sites like YouTube, Vimeo, Office 365, and others. Basic hyperlinks (to sites the user has access) can also be used.
To create an Embedded Document resource, go to Resources > Maintain Learning Resources, in the administrative menu. Click the New button, in the toolbar, and select Embedded Document in the Type of Resource drop-down.
On the Overview tab enter the resource title and a short description if desired. This will display to learners within the SPOC resource.
Enter a provider and select an online media type.
Go to the Online Tab. In the Location box, insert the link of the document or video that the learner should view.
In the Online tab, change the Score model to The resource is marked complete upon entry (launch).
Once you are done, click Save and Close in the toolbar to exit the resource.