This is a feature that must be enabled. To have this feature enabled for your business, please contact Client Support.
Sometimes a course requires minor updates to content. Since it is essentially the same course, a new resource should not be created. However, it may still be important to have a record of which user took which version. In this case, use the revision control process.
The course revision links revise versions of a resource on the back end.
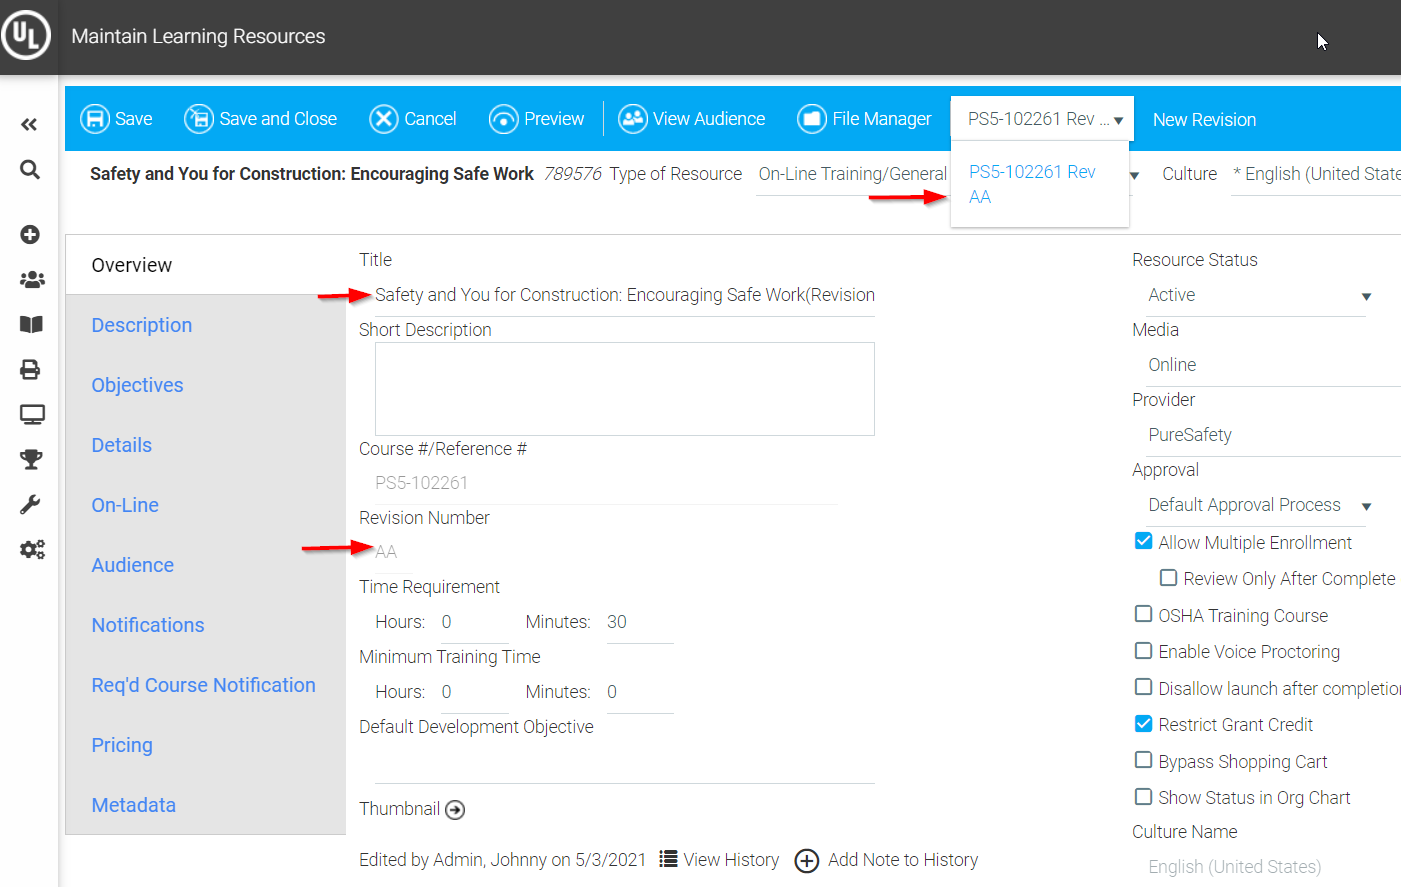
The process also appends "(Revision #)" to the title of each version, making it easy to see which version a learner has completed.
The LMS does create a new resource with a new resource ID, and marks the previous version/resource as Retired, so that the updated course files can be associated with the appropriate version of the course. However, the Course Number remains consistent across all revisions.
To place a resource under revision control, go to Resources > Maintain Learning Resources, search for the course that you want to place under revision control and edit it.
Revision control can also be set up for a new course, but you must save the course before setting up the revision control.
In the top toolbar click on Revision Control button.
If you have not yet entered a course number for this resource, you will be prompted to enter one before you can continue.
Once you enter the course number, you will be warned that the course number will no longer be editable once revision control has been activated for this resource. The course number is how the LMS keeps the revisions in sync and must be unique to this resource.
Next, you will be prompted for a revision number. This can be numeric or alphabetical. The recommended alphabetic pattern is A, B, C…, AA, AB…ZY, ZZ.
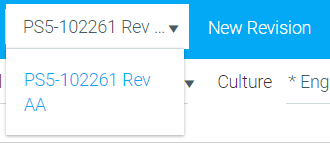
This resource is now under revision control, starting from the revision you edited. The course number and revision number fields are not editable, and the course title will display the revision number appended. A new drop down box will also appear in the top toolbar to make it easy to see what revisions you have for this revision structure.
To create a new revision of a course under revision control, go to Maintain Learning Resources, search for the latest version, and edit it.
Click New Revision button in the top toolbar.
The following options will appear:
When you have completed these settings, click Create Revision.